
AngularJS in the implementation of interactive maps with Google Maps
Table of contents
In this article, we will walk you through the process of integrating Google Maps into an AngularJS application. Follow the step-by-step guide to successfully deploy a map within your application.
Prerequisites:
Before we begin, ensure you have the following knowledge and tools:
- JavaScript/AngularJS Basics: Familiarity with JavaScript and AngularJS is essential. If you need a reference, here is the master guide for AngularJS.
- Programming Logic: Basic understanding of programming logic is required.
- HTML Knowledge: You should know some HTML.
- Yeoman Generator: Preferably, use the Yeoman generator.
- Package Management: Familiarity with tools like Bower and npm is beneficial.
With these prerequisites in mind, let's start our journey.
Installing Yeoman in Our Environment
For this example, we will use Ubuntu 14.04 LTS, a Linux distribution well-suited for web development. You can use any operating system, but this guide is tailored for Ubuntu 14.04 LTS users.
Before installing the Yeoman generator, you need to ensure certain management tools are installed in your working folder. Start by checking if npm is installed using the following command:
node --version && npm --version
If the versions of Node.js and npm are outdated, update npm to the latest version:
npm install --global npm@latest
Once updated, install the Yeoman generator along with other necessary tools:
npm install --global yo bower grunt-cli
Note: If you encounter errors during installation, use superuser privileges. To verify that the installation was successful, run:
yo --version && bower --version && grunt --version
If the versions are displayed correctly, the installation of our tools was successful.
Installing the AngularJS Generator in Yeoman
Now, let's install the AngularJS generator in Yeoman:
npm install --global generator-angular@0.11.1 generator-karma
To verify the installation, type:
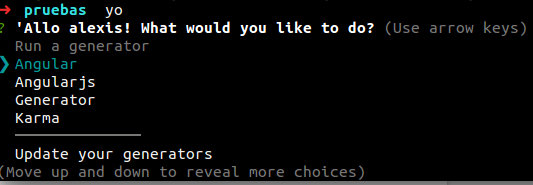
yo
This command will display a list of options where you can choose the Angular option:
Yeoman will then ask if you want to add additional functionalities. For this example, we will add all available options:
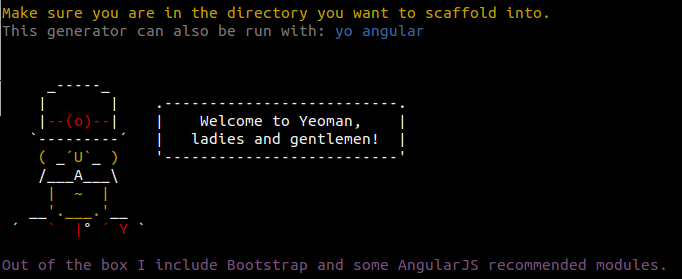
Note: This process may take some time, so be patient.
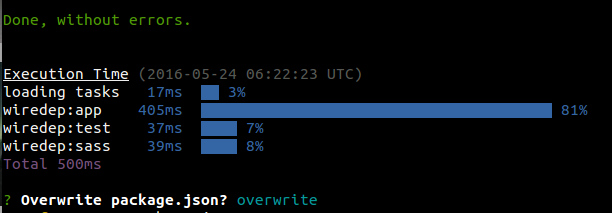
During the installation, Yeoman will ask if you want to overwrite the package.json file. Choose "Yes":
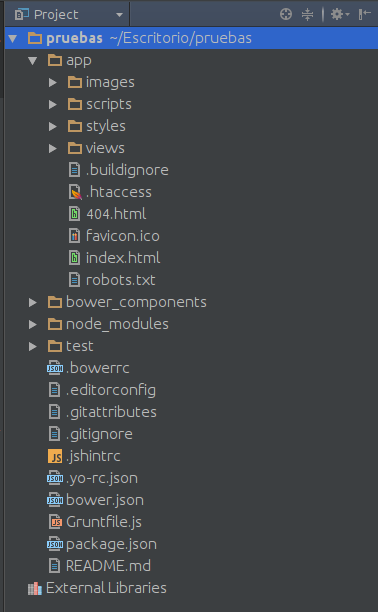
Once completed, you should see a series of folders in your project structure, indicating that the AngularJS project is ready:
To check if the project is working, navigate to the working folder and run:
grunt serve
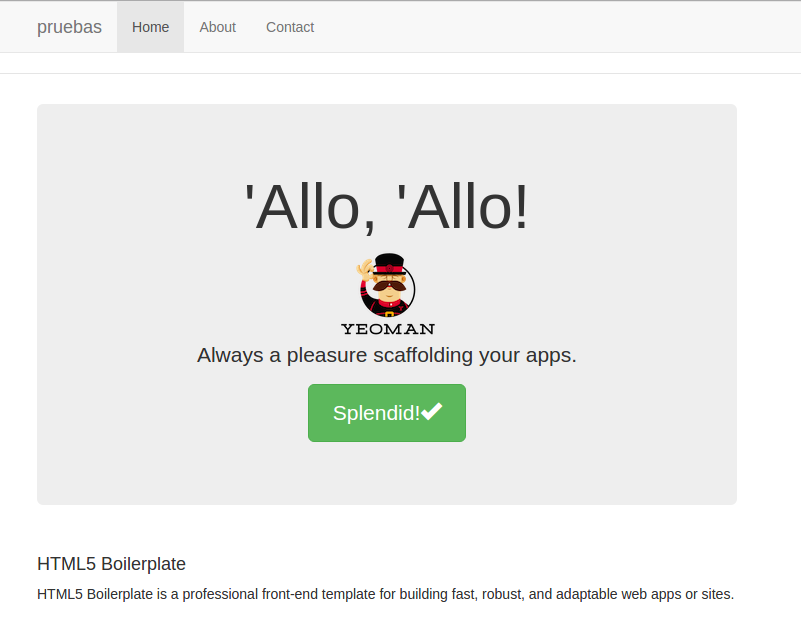
If everything was installed correctly, you will see a screen like this:
Leveraging Available Libraries for AngularJS Maps
One of the benefits of AngularJS is the availability of various libraries for implementing functionalities like interactive maps. In this case, we will use the ngMap library (http://ngmap.github.io/), which is user-friendly, well-documented, and doesn't require extensive expertise.
Since we are using Yeoman, we can utilize Bower to install the ngMap package. Bower is a dependency manager for front-end web development, simplifying the installation of libraries and frameworks. For more information, visit http://bower.io/.
To install the ngMap package via Bower, use the following command:
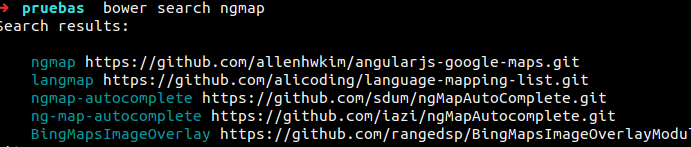
bower search "ngmap"
In the list of options, look for ngmap:
Install it by running:
bower install ngmap --save
The --save prefix will automatically add the ngMap JavaScript to the index.html, saving you from manually instantiating it.
Next, ensure that the ngMap package is added to the main controller of your application. Go to:
project_name/public/js/app.js
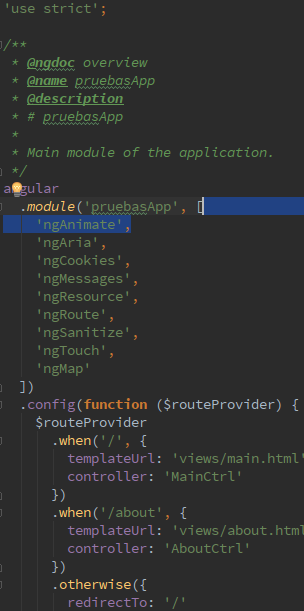
Once the "gMap" prefix is added in the app.js file, you are ready to use the functionalities offered by the ngMap library.
Using ngMap in Our Application
Now, let's proceed to use the ngMap library directly. Navigate to:
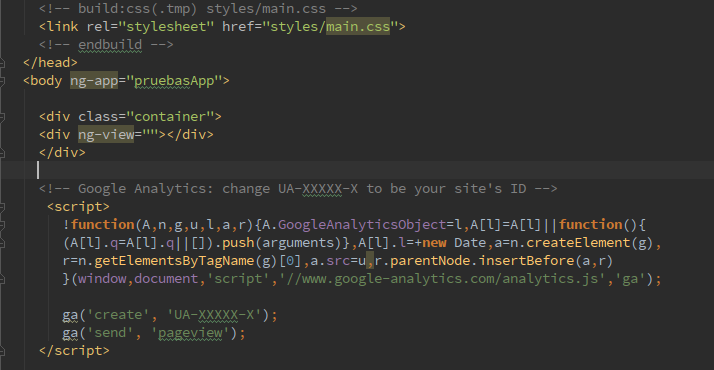
project_name/app/index.html
Edit the file to include a simple map. First, clear all content:
Next, add a few lines to enable a simple map. Edit the main.html file located at:
project_name/app/views/main.html
Modify the file as follows:

- Center: Specifies the coordinates where the map should start.
- Zoom: Determines the initial zoom level of the map.
- Default Style: A Boolean value indicating whether to use the preset map style.
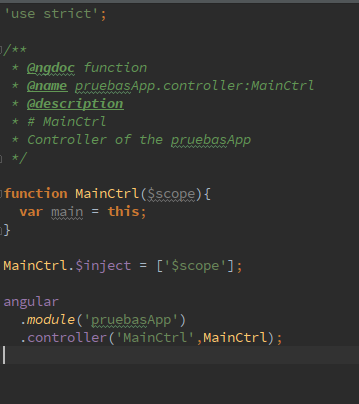
Finally, update the controller file located at:
project_name/app/scripts/controller/main.js
Modify it as shown in this example:
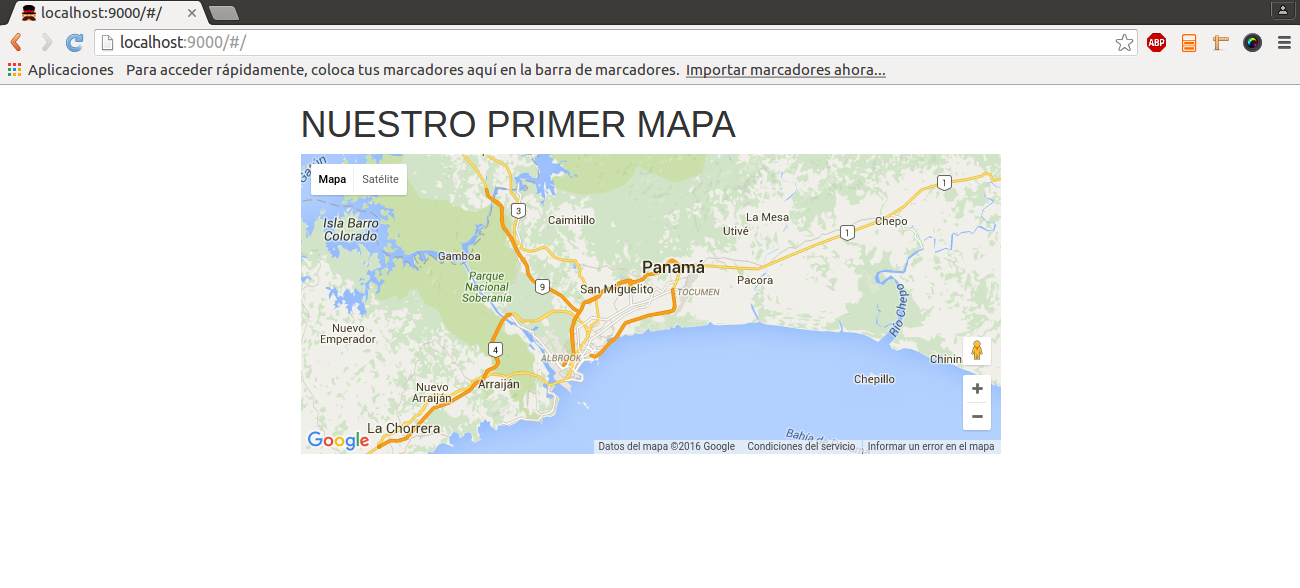
After completing these steps, you should see a screen like this:
I hope you found this tutorial helpful. Enjoy exploring the capabilities of free technologies. Until next time, happy coding!